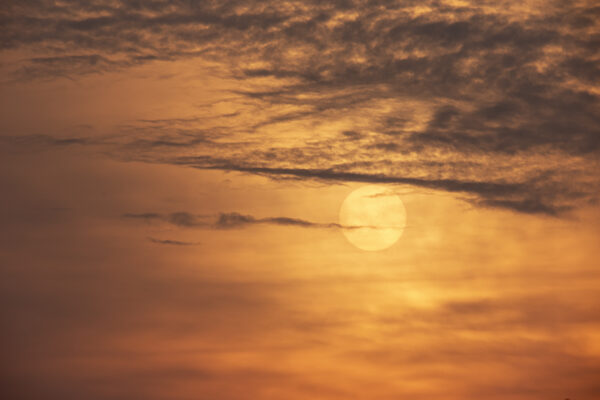
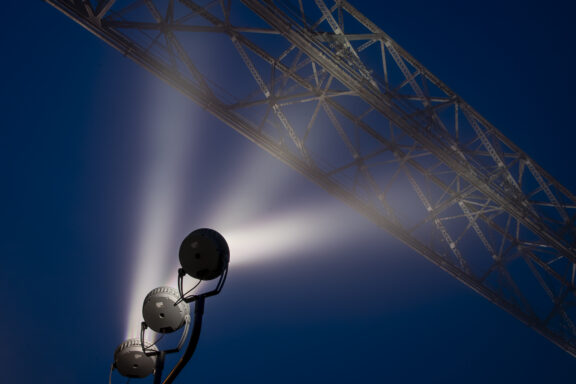
This image was a showstopper for me. It is a spectacular, high-impact view of a truly amazing sunset radiating across Gray’s Bay in Lake Minnetonka. Rich in powerful colors, exceptional cloud symmetry, and serene water reflections, this premium fine art print brings a fresh, radiant, and sophisticated organic presence to any modern gallery collection.
NOTE: All mat colors are currently limited to White, with more color options coming.
As the eye behind Lens & Lines, Philip J. Guettler focuses on nature and macro photography, striving to capture the
story behind the story. Each print reflects a commitment to discovering the extraordinary in the ordinary.
Style: Fine Art Nature & Macro Photography | Production: Archival Giclée Prints using Museum-Grade Materials Applications: Professional Wall Decor for Home & Office Galleries | Artist: Philip J. Guettler and Guests
Related Prints
FAQs
At Lens & Lines, the goal is to reveal the “story behind the story”. Whether you are curious about the technical craftsmanship of a macro Flora shot or the logistics of acquiring a large-scale Vista print, these answers are designed to provide clarity on the process from shutter click to final installation.
What do your four galleries—Flora, Fauna, Forma, and Vista—represent?
These categories are the pillars of my observational style:
- Flora: High-detail, often macro-focused studies of botanical life.
- Fauna: Capturing the character and presence of wildlife in their natural habitats.
- Forma: A study of shapes, lines, and patterns found in both nature and architecture.
Vista: Expansive landscapes and environments that capture the broader sense of a place.
What kind of print quality can I expect?
Every image is processed using professional-grade tools to ensure maximum clarity and color depth. I specialize in high-quality, large-scale fine art prints designed to serve as focal points in a home or professional space. We use archival-grade papers and inks to ensure that the “Lens & Lines” you see on the day of delivery remains vibrant for decades.
How should I choose the right size for my space?
Because many of my pieces are observational or macro-focused, they carry a significant visual weight. A large-scale Vista print can open up a small room, while a detailed Forma or Flora piece often invites closer inspection and works well in more intimate settings. If you are unsure about dimensions, I recommend taping out the dimensions on your wall with painter’s tape to visualize the scale before ordering. If you want to discuss different print sizes for any of my photos, send me a note. I’ll be happy to help.
How do I hang my multi-panel prints?
A multi-panel display is one of the most impactful ways to showcase a Vista or Forma piece, but the secret to that high-end “gallery look” is precise alignment. Because I use a two-point sawtooth system instead of a single wire, your prints will stay perfectly level and sit flush against the wall.
Step 1: Start with the Center (Your Anchor)
Professional installers always start with the middle panel. Find the center of your wall space and mark a point at eye level (roughly 57–60 inches from the floor). This mark represents the center of your first panel. Measure the distance between the two sawtooth hangers on the back, transfer those marks to the wall using a level (I find a laser level is best), and hang your center piece first.
Step 2: Establish the Gap
Consistency is everything. I recommend a 2-inch gap between panels. This provides enough “breathing room” to define each frame while keeping the overall image cohesive. Once your center panel is hung, measure 2 inches out from the edge of the frame to find where the next panel’s edge should begin.
Step 3: Sequential Leveling
Using your center panel as the reference, use a long level (or laser level) to extend a faint horizontal line across the wall for the side panels. This ensures the “horizon line” of the photograph remains perfectly continuous across the entire set. Repeat the measurement and hanging process for the left and right panels.
Step 4: The Adjustment MechanismWall studs and nail placements aren’t always perfect. The sawtooth hangers I provide feature a built-in lateral adjustment. If a panel looks slightly off-center or the gap isn’t perfectly uniform, you can shift the frame left or right across the “teeth” of the hanger without having to move the nails in your wall. This allows for fine-tuning down to the fraction of an inch, ensuring your final display is millimeter-perfect.